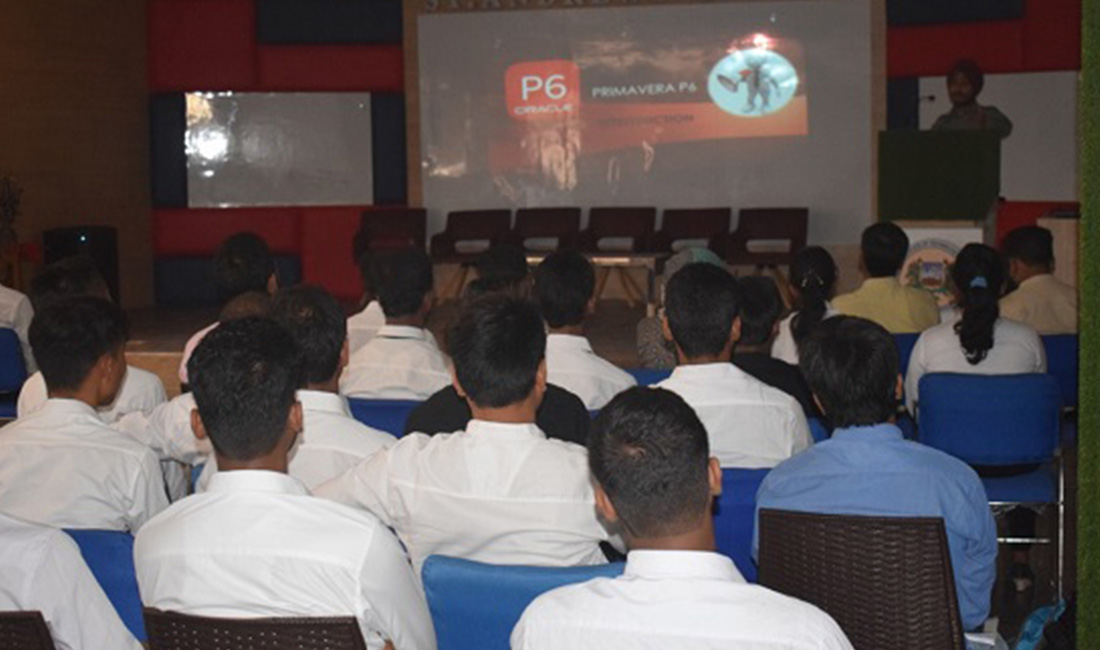
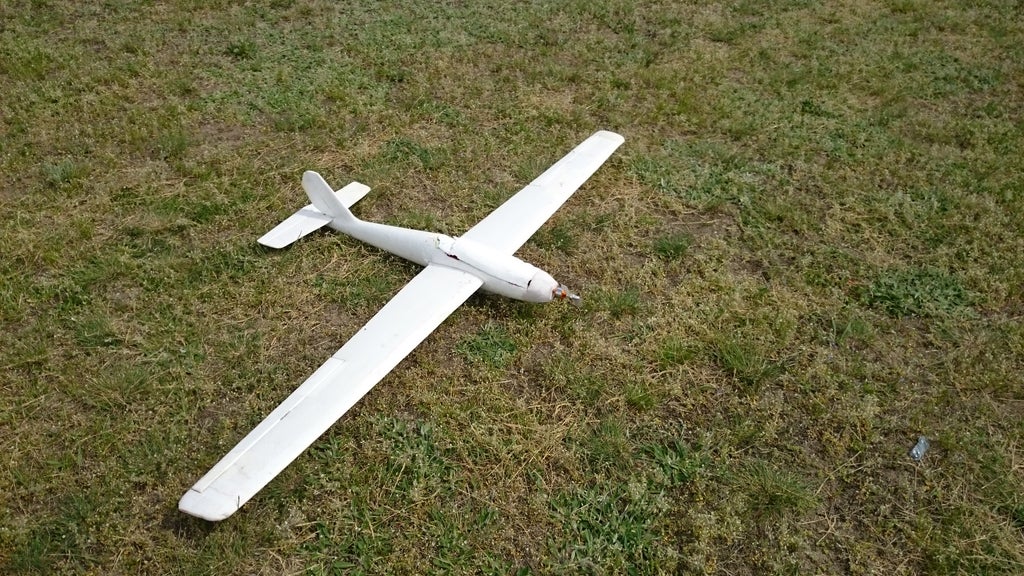
About Workshop RC Aircraft and Drone Making
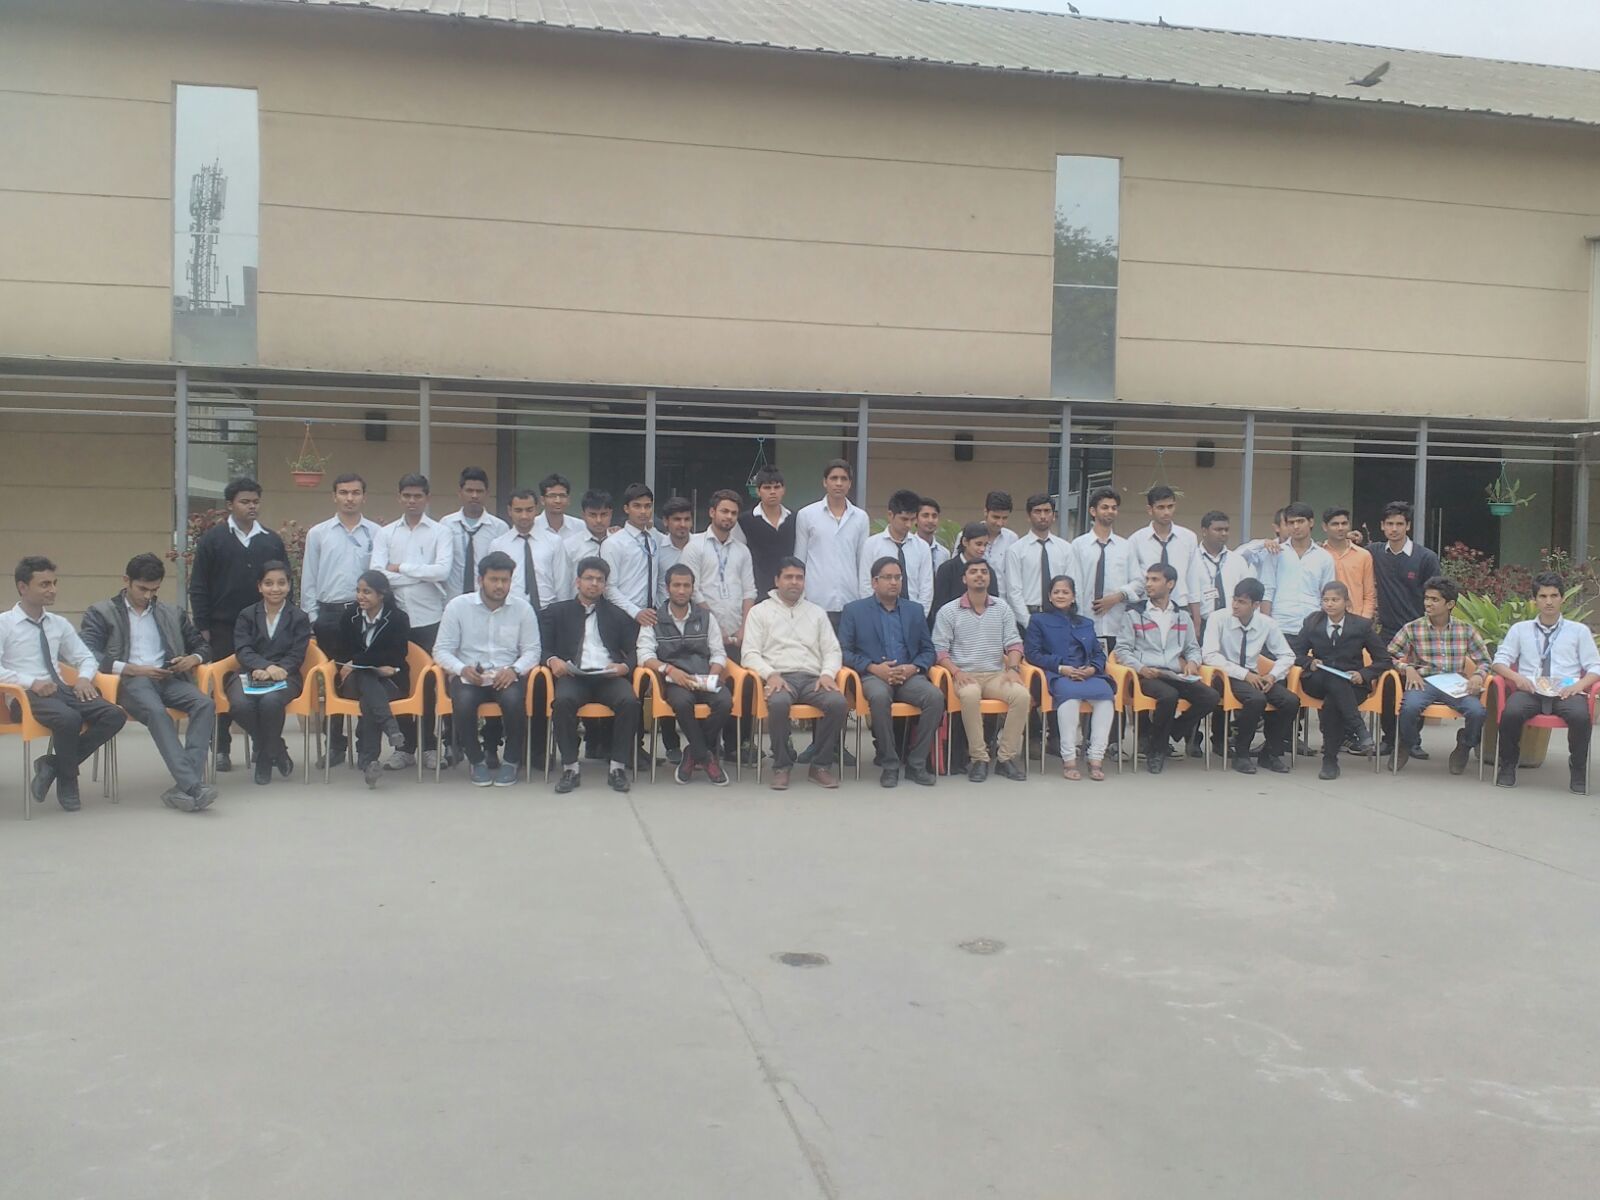
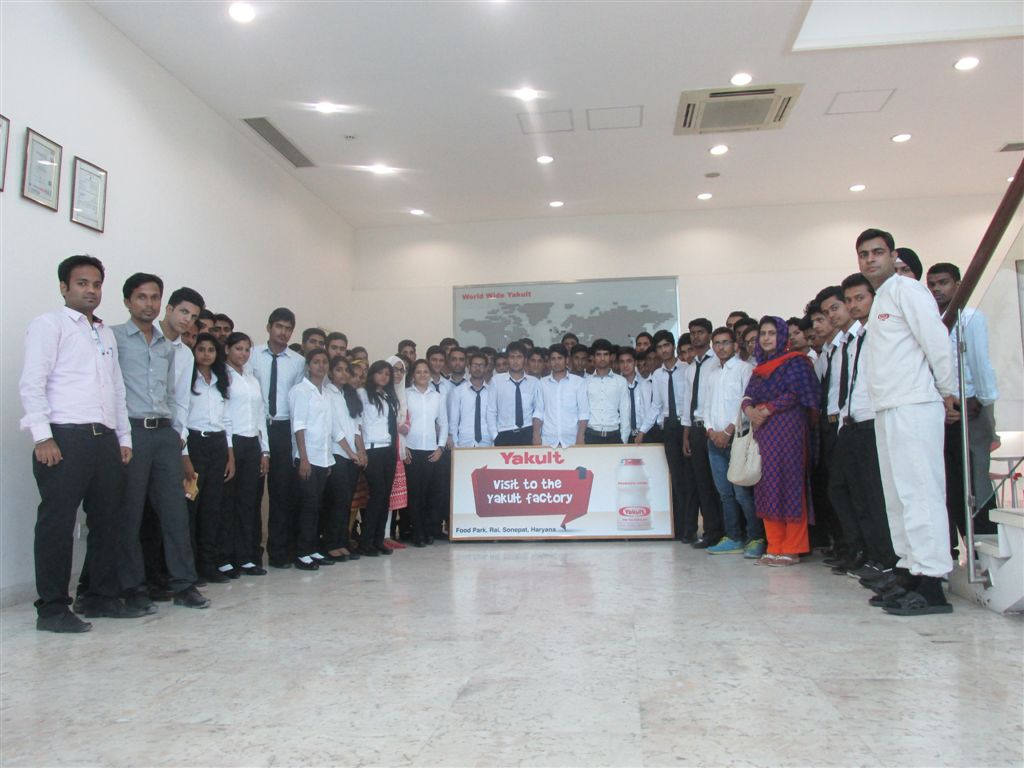
“St. Andrews organized a workshop on RC Aircraft & Quad Rotor Design conducted by Skyfi Labs. The workshop gave an opportunity to the students to understand the theory behind the functioning of aircraft and aircraft design. By coming up with your own design of a RC aircraft and fabricate it from scratch makes you innovative.
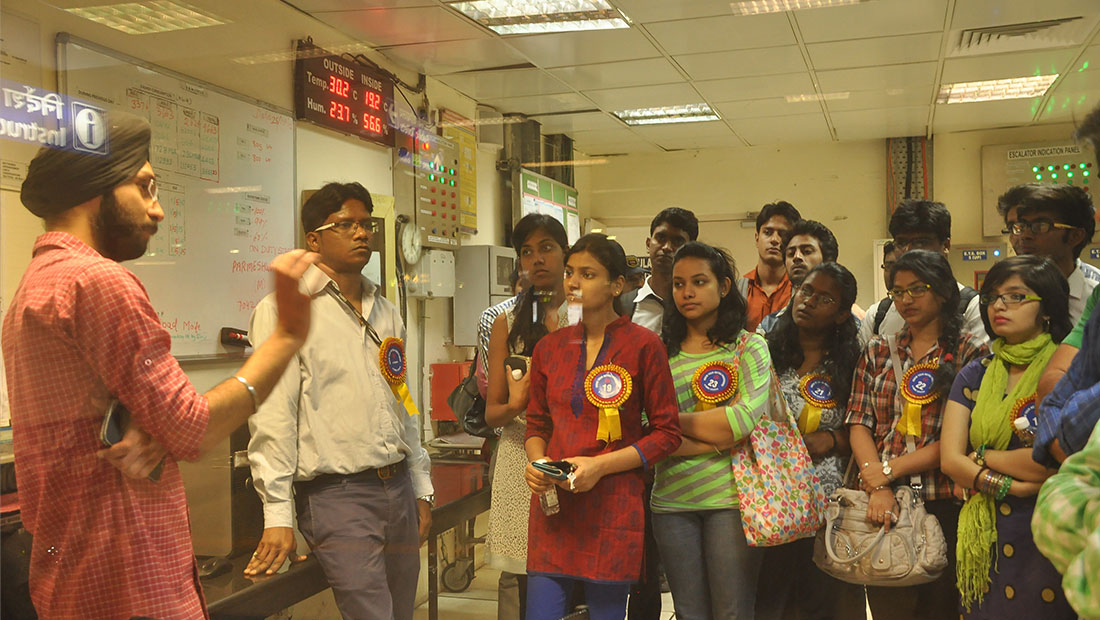
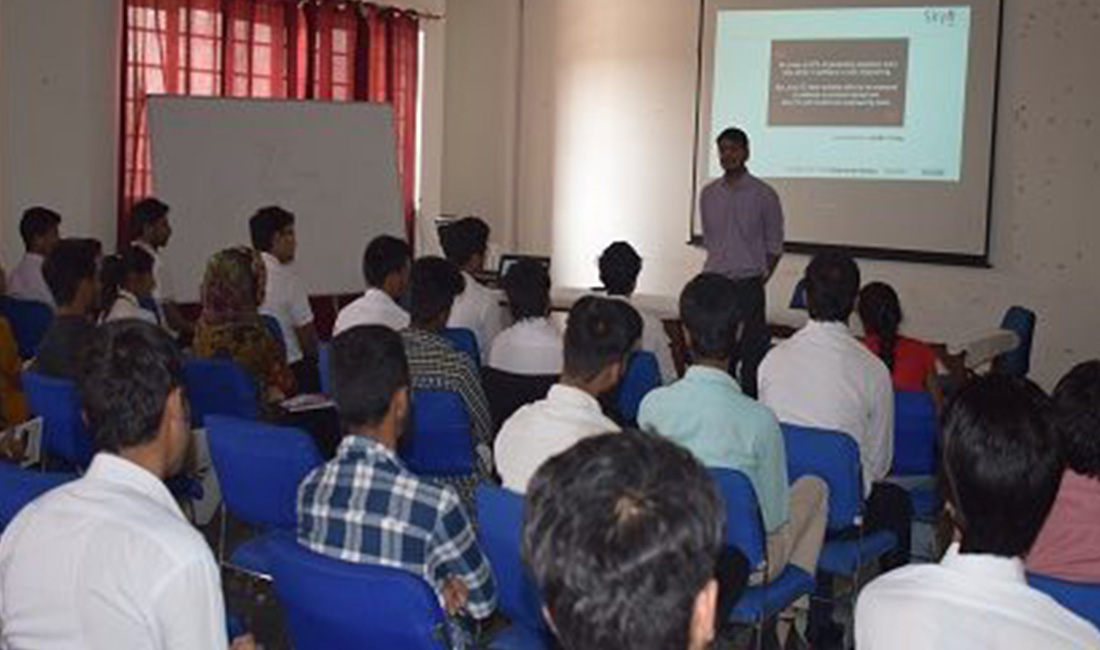
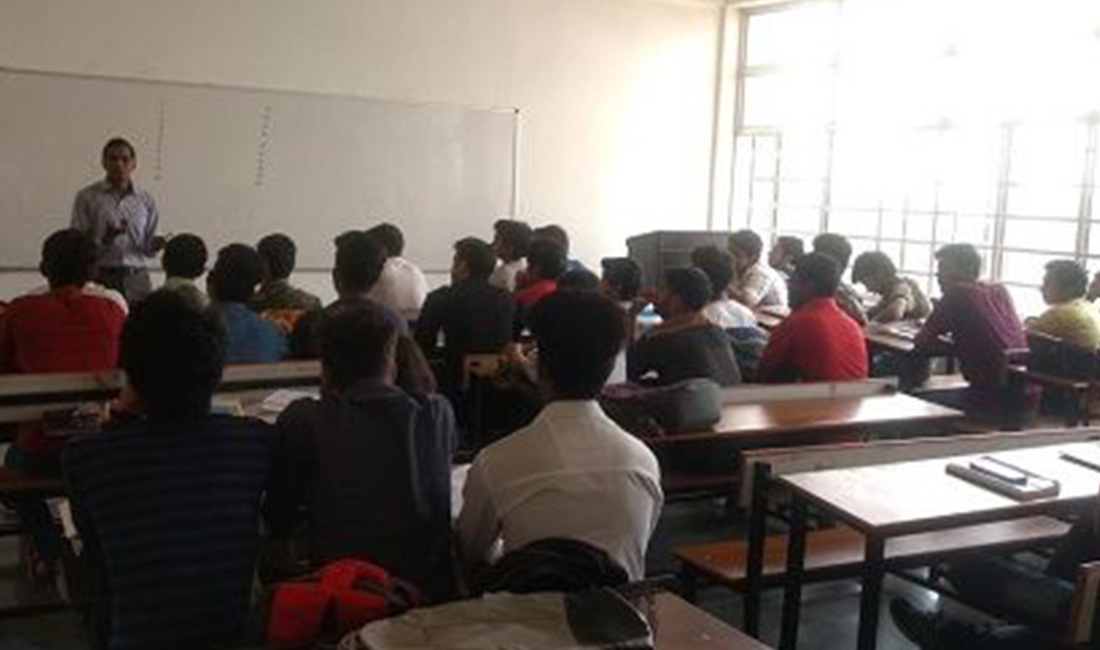
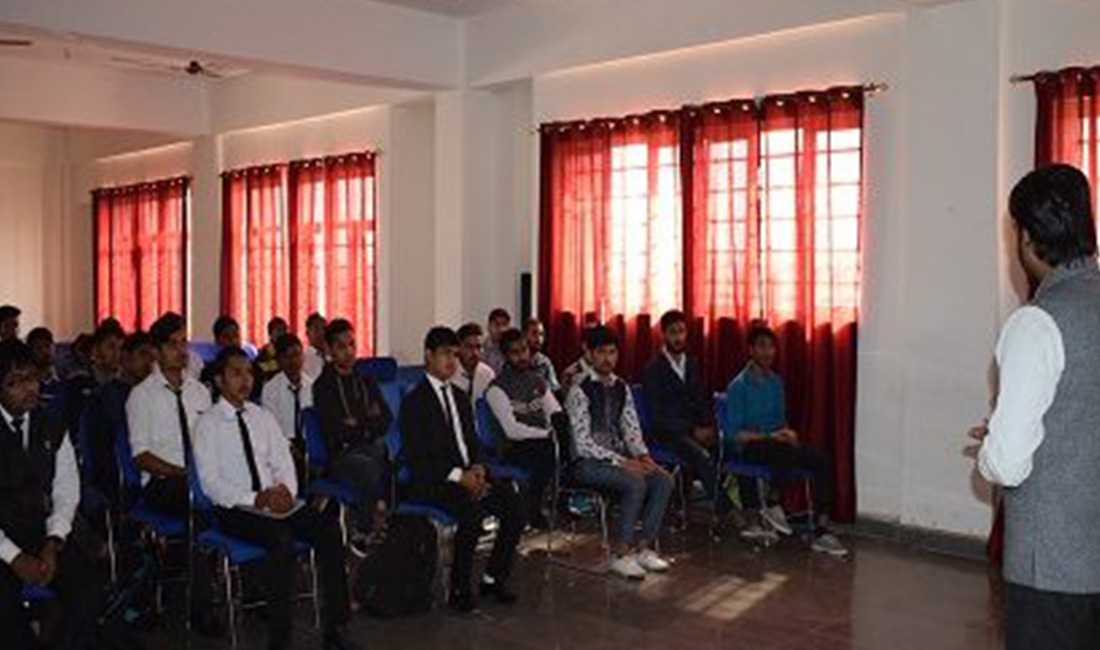
An Interactive Lecture Session and Design session helped the SAITM students to design the aircraft and Quadrotor. All the introductory concepts of aeronautical engineering such as basics of flight & aeronautics, different systems in an aircraft stability & control of an Aircraft Instrumentation in an RC Aircraft through aeromodelling was made possible by this workshop. It also has given the students a hands-on experience on the electronic and electrical instrumentation of an RC aircraft and Quadrotor. Lets see what the second day has to offer for our students. Here are some serious moments captured while designing their dream aircraft/ Quadrotor.”
Materials Used in RC Airplane Step by Step:

- Airframe materials (balsa wood, foam, carbon fiber)
- Adhesives (epoxy, CA glue)
- Covering material (heat-shrink covering or adhesive-backed film)
- Control linkages (pushrods, control horns)
- Hardware (screws, bolts, hinges)
- Power system components (motor, propeller, ESC)
- Radio system (transmitter, receiver, servos)
- Battery
- Wiring
- Tools (hobby knife, scissors, sandpaper, soldering iron)
- Measuring instruments (ruler, calipers)
- Heat gun or iron (for covering application)
- Weights (if needed for balance)
- Paint (optional for customization)
- Velcro or straps (for securing components)
- Servo extensions or Y-connectors (for wiring setup)
1. Planning and Design
- Determine the Type: Start by deciding on the type of RC plane you want to build, such as a trainer, sport plane, or scale model. Consider your skill level, flying preferences, and available resources. Research various designs and select a model that suits your needs.
- Acquire Plans or Kits: Gather plans or purchase a kit for your chosen aircraft model. Plans provide detailed instructions and templates for cutting and assembling the various components. Kits usually include pre-cut parts, reducing the time and effort required for construction.
- Study the Plans: Thoroughly examine the plans or kit instructions to familiarize yourself with the assembly process. Understand the sequence of construction and the required tools and materials. Take note of any special considerations or modifications mentioned in the instructions.
2. Gathering Materials and Tools
- Materials: Collect all the necessary materials as per the plans or kit instructions. This includes the airframe materials (balsa wood, foam, or carbon fiber), adhesives, covering material, control linkages, and hardware such as screws, bolts, and hinges. Ensure you have sufficient quantities and quality materials for the construction.
- Tools: Equip yourself with the necessary tools for building the RC airplane. These may include cutting tools (hobby knife, saw, or scissors), measuring instruments (ruler, calipers), sandpaper, soldering iron, drill, and a heat gun. Organize your tools for easy access during the construction process.
3. Airframe Construction
- Cutting and Shaping: Start by cutting out the various components from the provided templates or pre-cut parts. Use the appropriate cutting tools and take your time to ensure accurate cuts. Shape the components as needed, sanding them down for smooth edges and surfaces.
- Fuselage Assembly: Follow the plans or kit instructions to assemble the fuselage. Join the fuselage sides and bulkheads using suitable adhesives, ensuring proper alignment. Reinforce critical areas with additional supports as specified in the instructions.
- Wing and Tail Construction: Build the wings and tail surfaces separately. Assemble the wing ribs, spars, and leading and trailing edges according to the plans. Use suitable adhesives to join the components securely. Similarly, construct the tail surfaces, such as the horizontal stabilizer and vertical fin.
- Landing Gear and Control Surfaces: Install the landing gear as per the instructions, ensuring it is securely attached to the fuselage. Build and attach the control surfaces, such as ailerons, elevator, and rudder, using hinges and control horns. Ensure smooth and unrestricted movement of the control surfaces.
4. Installation of Power System and Electronics
- Power System: Mount the motor on the firewall of the fuselage using a motor mount. Install the propeller on the motor shaft, ensuring it is balanced and securely fastened. Connect the motor to an electronic speed controller (ESC) and attach the ESC to the receiver.
- Radio System: Install the receiver in a suitable location within the fuselage, ensuring it is securely mounted. Connect the servos to their respective control surfaces, making sure the servo arms are properly aligned with the control horns. Bind the receiver to your transmitter and perform a range check to ensure proper communication between the transmitter and receiver.
- Battery and Wiring: Select an appropriate battery for your RC airplane and mount it securely within the fuselage. Connect the battery to the ESC, ensuring the polarity is correct. Organize the wiring neatly and secure it in place to prevent interference or damage during flight.